Home-Designology
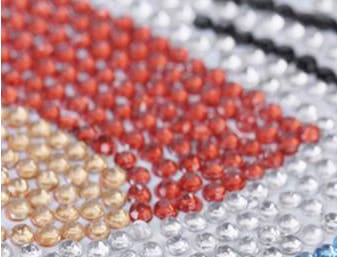
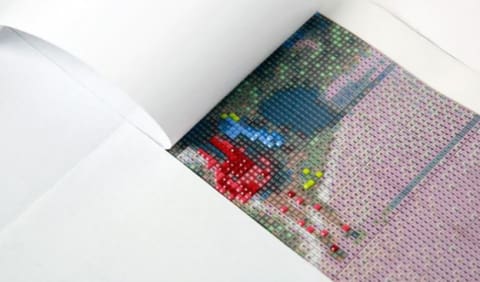
Amazing Horse Diamond Painting
🔥🔥 93% OF CUSTOMERS BUY 3 OR MORE 🔥🔥

Amazing Horse Diamond Painting !!!
Let replace your stress, tiredness with creative moments with 5D diamond painting. It is interesting and relaxing! You and your children can create gorgeous pictures to decorate your home. This Horse diamond painting is modern style and impressionism art. Your home becomes more beautiful and elegant. Don’t skip it!
Just click the "Add To Cart" Button Below! There's a very limited stock, and they will go soon!
Note: Due to High Demand Promotional Items May Take Up To 2-4 weeks for delivery.
WE SUPPORT AN AMAZING CAUSE
We're thrilled to support Nanhi Pari Foundation is a Girl Child Right Organization which works for Education, Health & Nutrition for Girl Child.


HOME DESIGNOLOGY'S 7-POINT HAPPINESS CHECKLIST
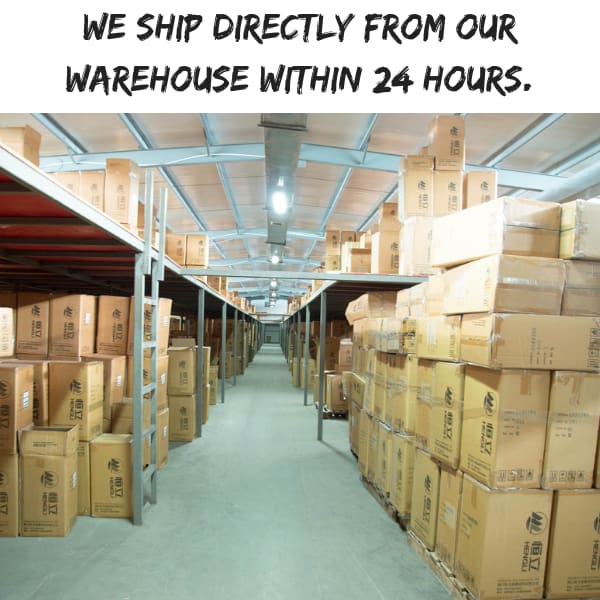
1. FREE Shipping Worldwide on special offers.
2. Fast, Sure & Safe delivery.
3. Safe Payments via PayPal® and 2Checkout®.
4. 30 Day Money Back Guarantee.
5. Real humans on our support help-desk !
6.Tracking number for every order.
7.We use encrypted SSL certificates for 100% security.
DIAMOND PAINTING TIPS AND TRICKS
One of the wonderful things about the diamond painting community is how excited everyone is to learn this new craft together. This hobby is so new that we’re all still finding out the quickest, most effective, and most fun tricks to make these beautiful pictures.
As we each discover new methods and techniques individually, we’re eager to share our discoveries with other crafting enthusiasts! Here’s 10 of our favorite diamond painting tips we’ve picked up alone way.
1. CHOOSE A KIT THAT MAKES YOU SMILE
While this may seem obvious, it’s important to pick something you like to look at for long periods of time. Since you will be working closely with the piece, try to pick something that’s fun for you and won’t bore you.
If you are new, it might not be best to pick an enormous piece. Finishing the small ones has a sense of joy in the simplicity of the work, but finishing a massive, 30” piece has fantastic satisfaction.
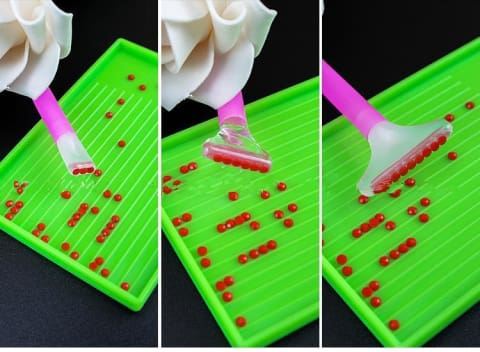
2. USE A MULTI-TOOL FOR THOSE LARGE CHUNKS OF COLOR
It can get frustrating to try and cover a large space with just one color. Thankfully, we have a multi tool that lets you pick up 9 drills at once and place them in a straight line. Wonderful for borders and huge spaces of a single color. For smaller areas, there’s also a 3 and 7 drill tool as well.
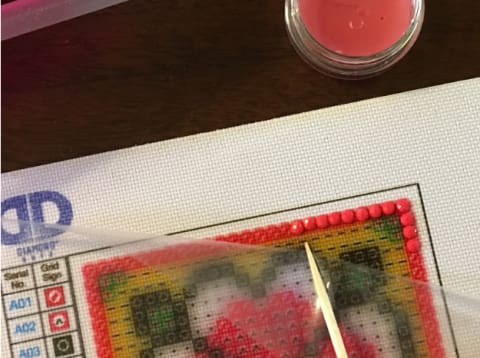
3. USE A TOOTHPICK
In most of my work, I used the setter tool, but I found keeping a toothpick handy was excellent for nudging wayward crystals back in line, or picking up ones that had dropped. I found it as useful as the setting tool itself!
4. WORK IN SECTIONS OF COLOR BLOCKS
To begin, peel back the clear sheet covering the adhesive on the canvas in small sections. This will keep the adhesive fresh while you place the gems! If the piece is large, snip slits in the clear sheet to let you peel back smaller sections at a time so the adhesive won’t dry out.
Conventional wisdom says to work on one color at a time, however, after pulling away the film to expose the adhesive, this might reveal lots of colors, especially in smaller pieces. It helps to choose four different colors that are wildly different to work on at once, so they don’t get mixed up. In designs with palettes closer in color to one another, working with a single color at a time might be more helpful.
5. USE DRYER SHEETS TO COMBAT STATIC
Since the drills are made of resin and are lightweight, they tend to have a tendency to stick together. Cutting up small sections of dryer sheets to store with your diamonds will keep them from bunching up.
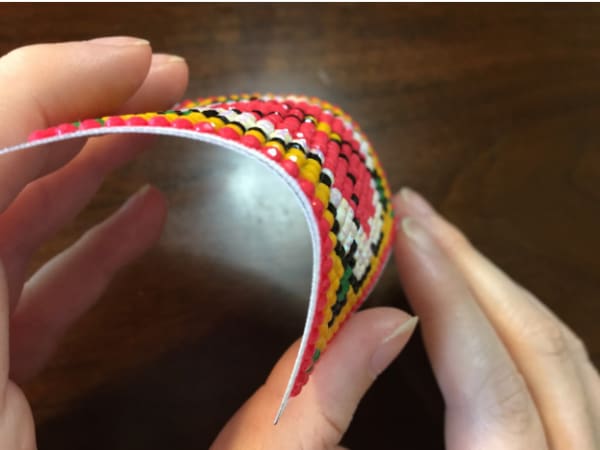
6. TAPE DOWN YOUR CANVAS TO KEEP IT FROM CURLING
This is especially true with smaller pieces, which like to curl up when taken from the shipping box. Tape down around the sides-- similar to preparing a watercolor piece for painting-- to keep the canvas from curling.
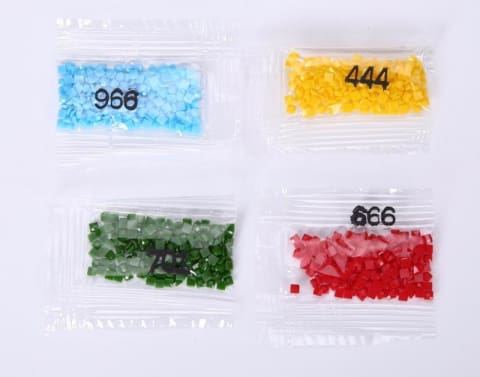
7. STORE YOUR DIAMONDS IN RESEALABLE CONTAINERS
Any kind will do. Plastic resealable bags, small jars. Even a tackle box! Whatever system works best for you will help keep you organized.
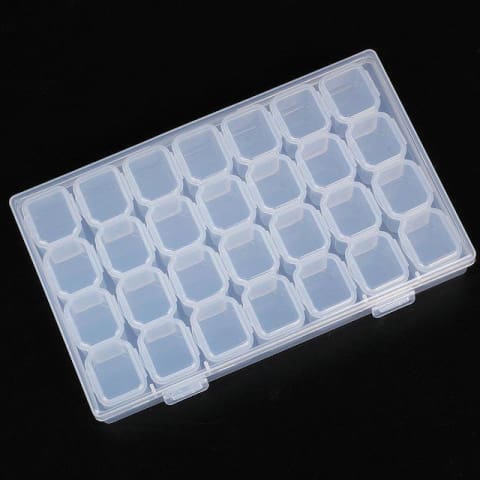
8. LABEL EVERYTHING
It’s a good idea to label the containers, whatever they may be, with the number of their color as well as the corresponding symbol. As for the key on the margins of the canvas, you can tape down samples of each color unless one slips by unnoticed onto your setting tool.
9. USE A GENTLE TOUCH
The only small problem I ever encountered with working on my painting was the occasional time I would press too hard and the gum adhesive would pop out of my setting tool. No harm done, I simply had to replace the gum and scoop it off of the gem.
However, it was annoying to stop the rhythm of placing gems to fix it, so from my experience, use a gentle touch. The adhesive on the canvas is much stronger than the gum on the tool, and doesn’t need a heavy press in order to get it to stick.
10. CLEAN THE GUM OFF OF THE GEMS
Sometimes the gum adhesive stuck on the setting tool dulls the shine of the diamonds, Get a damp cloth or a glasses cleaning sheet and carefully rub over finished areas. Shiny!